
In this blog, you will learn how to retrieve data from Snowflake and import it into Power BI Desktop for analysis and visualization.
Let’s Get Started step by step:
Step-1: Go to Snowflake and make a note of your server, database, and warehouse name.
For Server name:
In the Snowflake web UI, navigate to the Accounts tab and copy the URL from there.

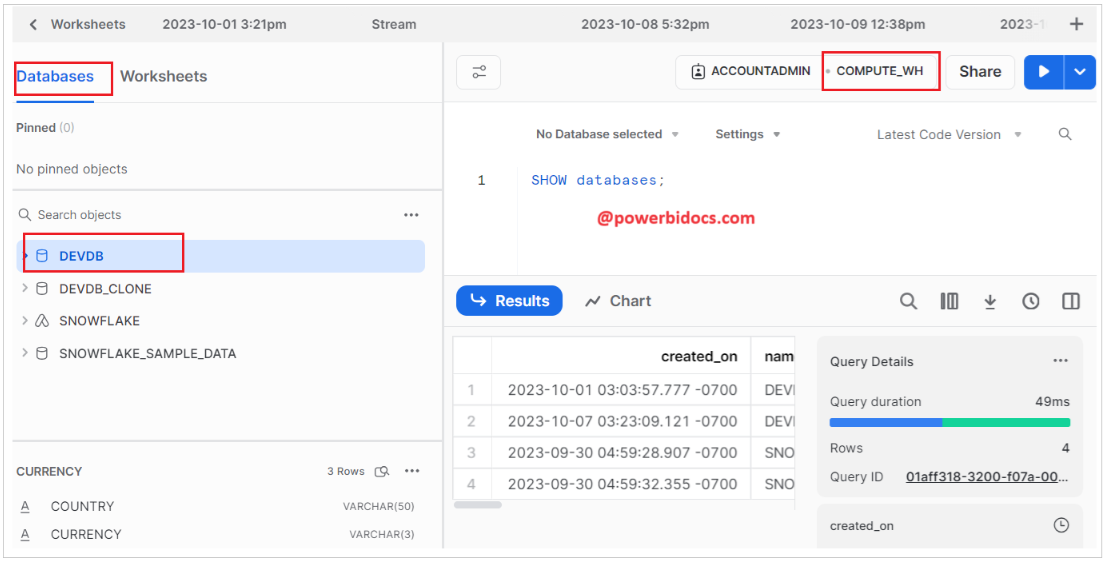
For DB and Warehouse name
The screenshot provided below is for your reference.
Step-2: To connect Power BI Desktop to Snowflake, open Power BI Desktop, navigate to Get Data, choose Database, and then select Snowflake, and click on connect button.

Step-3: In the Server and Warehouse fields, input the respective names of your Snowflake server and warehouse.

Step-4: Provide Snowflake credentials

Step-5: Afterward, select the specific database and tables you wish to import into Power BI, and click on Load button.

Step-6: Select connection mode, and click on OK button.

Step-7: The data from Snowflake tables has been successfully loaded into Power BI.
Hope you enjoyed the post. Your valuable feedback, question, or comments about this post are always welcome or you can leave us message on our Contact form , we will revert to you asap.
![]()